Vanilla is forum software. It provides a modern community platform for organizations. Companies like Adobe, EA, Acer, Nokia are using it. You can visit the showcase page for additional details. It helps improve customer service, increase advocacy, and strengthen brand loyalty.
This forum is also available as a software-as-a-service (cloud) which is paid and good for organizations. For individuals, an open-source option is also available.
You can directly install using a one-click installer like Softaculous, or Instamojo provided by your hosting provider, and see if Vanilla is a good fit for you.
What if you do not have any Web Hosting?
No worry…
You can easily install Vanilla on your local host Windows as well as Linux using software like XAMPP, WAMP, MAMP, etc.
That is what I am going to share in this article.
Install Vanilla Forum
Installing Vanilla on Windows is very easy. It requires Apache/Nginx HTTP Server, MySQL/MariaDB database, and PHP programming language. We are using XAMPP which is free Apache MySQL distribution. If you are not aware of XAMPP. Read below article
Read:- XAMPP (Apache-MariaDB-PHP-Perl) – Installation Guide on Windows
1. Install XAMPP
Go to the download page to download the latest XAMPP installer. It is wizard-driven. So as soon as the download completes, double-click the installer file to start the installation. Refer to this article for step-by-step instructions.
When the installation completes, open the XAMPP control panel and start Apache and MySQL service. Both services are needed, as Vanilla is built on PHP and MySQL Technology stack. Make sure the Module icon turns green and PID(s) and Ports(s) are populated.
2. Download Vanilla Forum Software
Open the vanilla forums download page. Enter your name and email id, if you want to receive updates. It is optional, if you don’t want, do not enter any details and click on download. This version is for the development community.
For Big Communities, there is a paid option. You get the support required to host and grow the community. Check this link for pricing.
3. Create Database and User
The forum needs a MySQL database to store database objects. Open my PHP admin and create a user and database.
Create MYSQL Database myforum and User forumadmin as shown above using the phpMyAdmin dashboard.
- Database – myforum
- User: forumadmin
4. Start Vanilla Installation
Extract the downloaded file in C:\xampp\htdocs\forum folder. XAMPP is installed under C:\xampp folder on Windows.
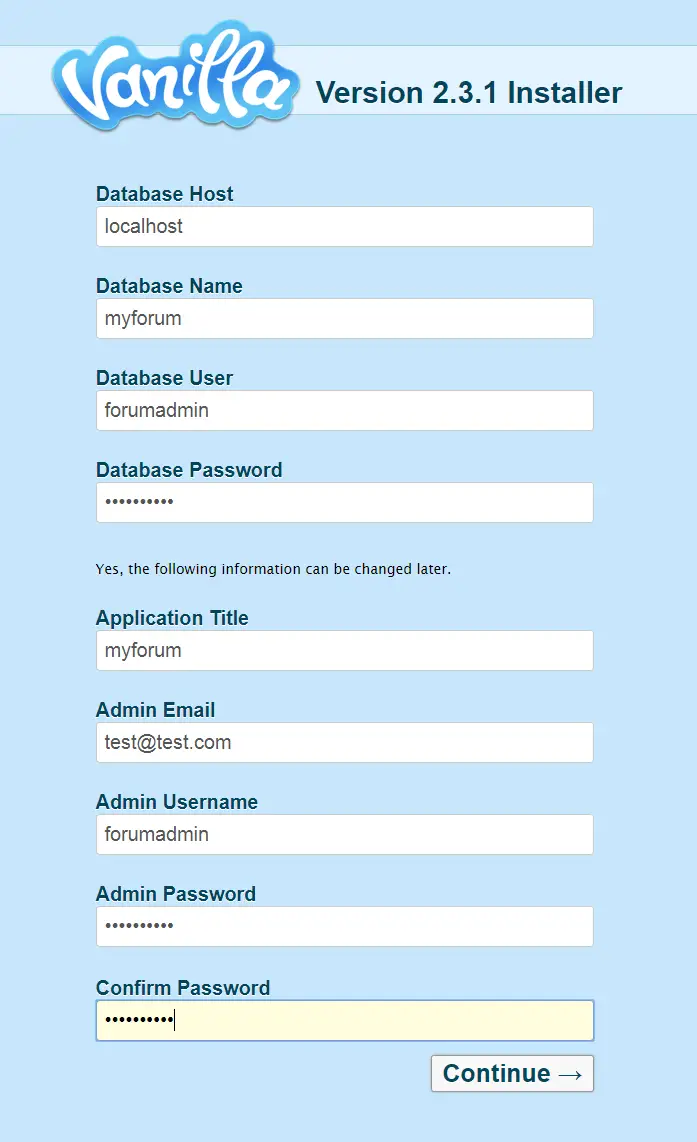
Open any internet browser and type localhost/myforum/ in the address bar. It should start the installation process. Enter all necessary information as shown in the below image. The host should be localhost as you are installing on the local desktop. Database name and user-created in the earlier step. Enter the application title and Admin user details and click Continue.

The database username and admin username should not be the same. I kept the same only for demo purposes.
Your Vanilla forum should get installed within seconds…….!!!
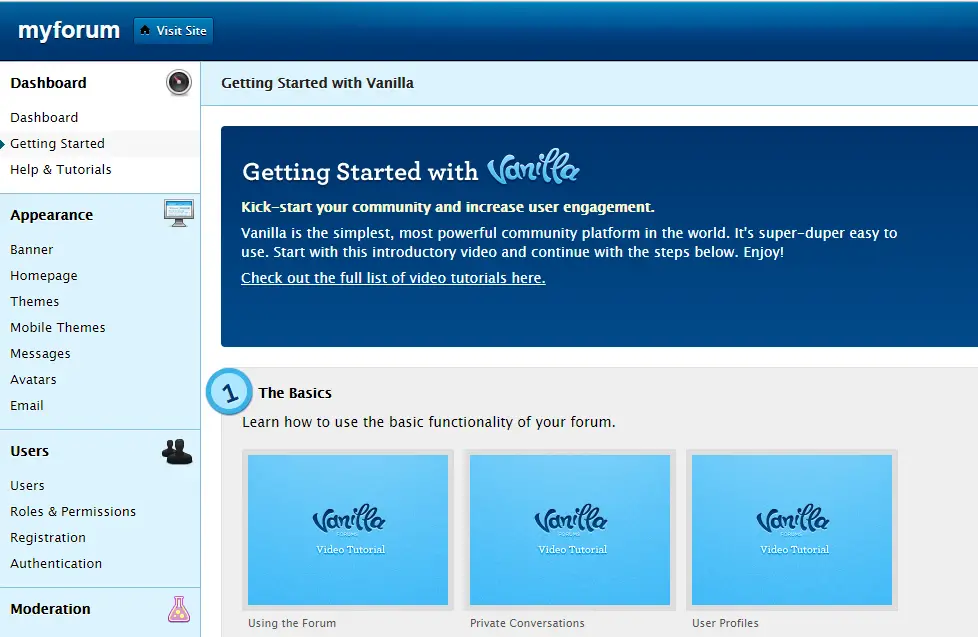
Below is the main dashboard. You can configure the Banner, Homepage, and Themes. There are good options and easy to understand. If you need any help, just click on Help & Tutorial Links.

Wasn’t it easy to install on localhost?
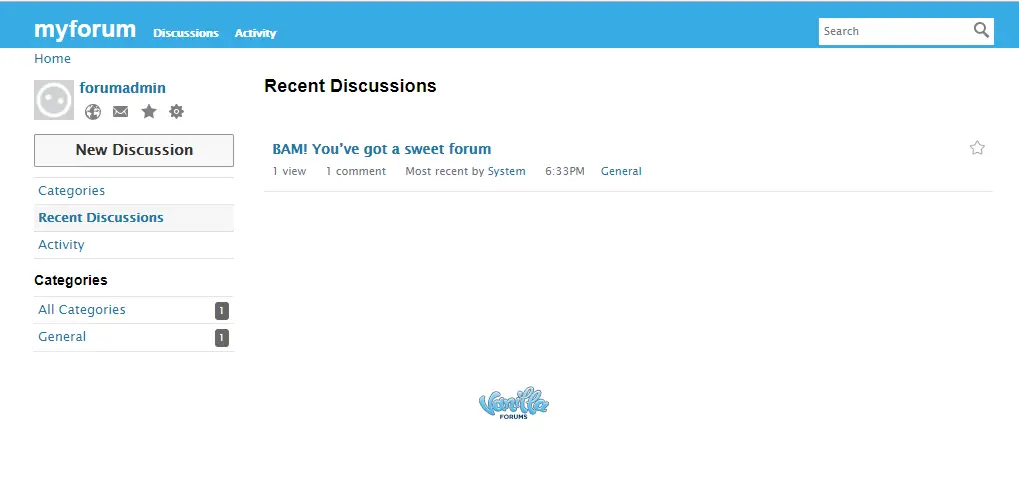
Click on the Visit Site button shown on the right-hand side top to check default forum dashboard.

By default, Vanilla comes with the basic and plain installation. You need to add some add-ons and themes to customize and configure it.
What Next?
Play with your forum and if it meets your requirements, move it to production or get Cloud Hosting from vanillaforums.com. If you face any issue, just ask it in this forum.
Do let me know if you liked this article on installing Vanilla forum software on Windows using XAMPP in the comments section below.

Very nice article, totally what I wanted to find.