Textpad is a text editor like notepad (Default editor in Windows OS). This is the first text editor used by me when I started working as Oracle Apps Developer before switching to Notepad++. Mostly I used it for PL/SQL coding. I loved it’s clean interface and syntax highlighting feature.
Textpad was freeware at that time. It seems they started charging USD 27.00 per user basis. Seems it has evolved a lot and added lot of new features.
Textpad is a paid tool. There is a trial version available which you can download to evaluate it. This evaluation copy is valid for 30 days, but it is enough time to take a decision if you want to go with it or not.
You can download TextPad from the official site. The current version is 8. Both 8 and 7 version for 32 bit and 64 bit is available. It supports English, French and other languages.
Install Textpad Windows
Extract the zip file to any folder and follow the instructions.
Requirements:
- Windows compatible PC with a Pentium 4 processor.
- TextPad 8 – 32-bit and 64-bit editions of Vista, Windows 7, 8.1 and 10, and on Server 2008 and 2012.
- TextPad 7 – 32-bit and 64-bit editions of XP, Vista, Windows 7, 8.1 and 10, and on Server 2003, 2008 and 2012.
Note:
- You cannot install both the 32 and 64-bit editions on the same computer.
1. Start Installation
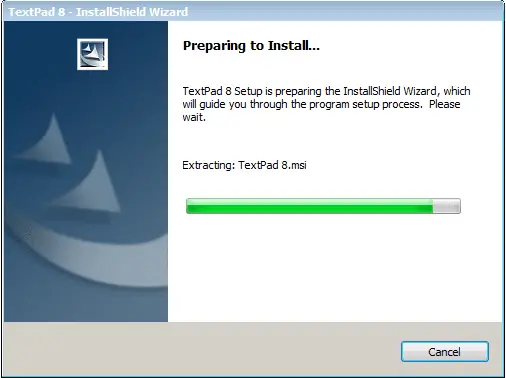
Double click on .exe file to start the installation. It is windows wizard-driven installation. You just need to click on Next button.
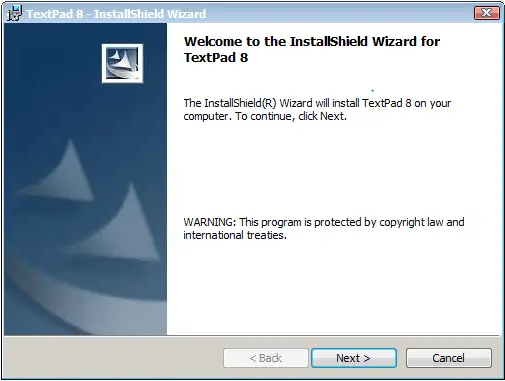
2. Welcome Screen
This is the welcome screen for the InstallShield Wizard. Click Next.
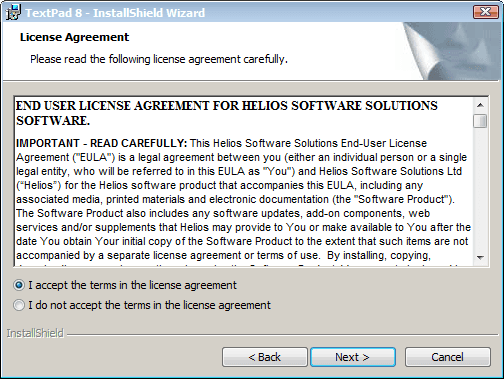
3. Accept the terms in the license agreement
Next, accept the terms in the license agreement and click Next.
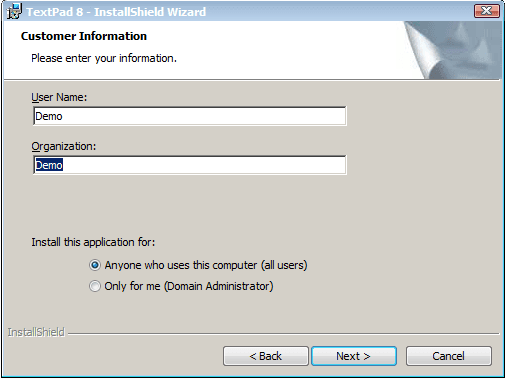
4. Enter Customer Information
Enter your information username and organization. You can also select who can use the application, only you or anyone who uses this computer (all users).
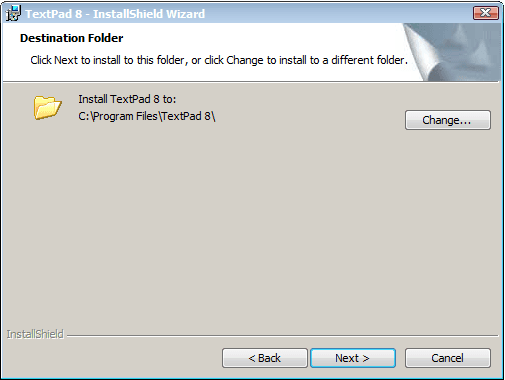
5. Choose Destination Folder
Setup select default destination folder. You can change it if required by clicking on Change Button.
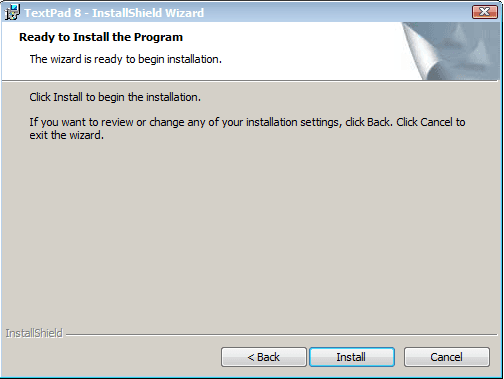
6. Complete Installation
Now you are ready to install Textpad. If you want to change anything just click Back button. If not, click Install.
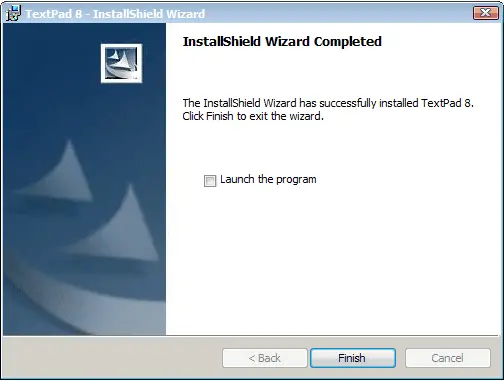
Installation starts and completes with-in seconds. Click on Launch program to open Textpad.
This is how it user intrface.
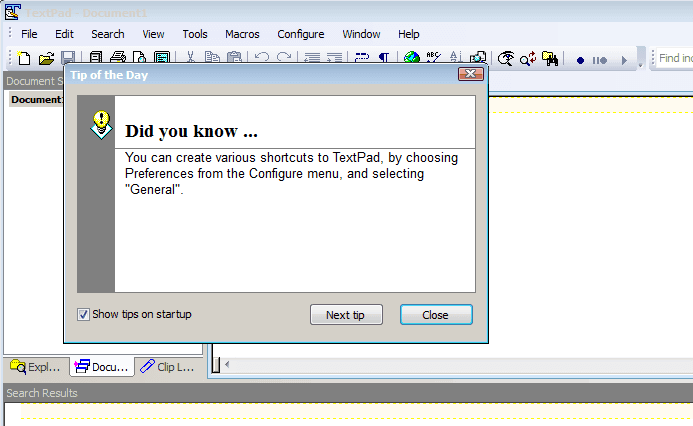
Whenever you start the application, it presents Tip of the Day which shows various Tips for the tool. Sometime this features annoys, so I disable it by unchecking Show tips on startup check box.
Summary
That’s it and you have successfully installed Textpad on your desktop. Explore its features and do let me know if you think it is good tool compared to Notepad++.
