XAMPP is a completely free, open-source, and easy-to-install Apache distribution containing Apache HTTP Server, MariaDB, PHP, Perl, and other supporting modules like FileZilla, Tomcat, Mercury, etc.
In this guide, we’ll cover:
- What is XAMPP and its components
- How to download and install XAMPP on Windows
- Step-by-step instructions to configure and use XAMPP
What is XAMPP and Its Components?
XAMPP, developed by Apache Friends, provides a complete development environment for PHP and MySQL-based applications. It is distributed under the GNU General Public License (GPL), making it free to use.
Meaning of XAMPP
- X – Cross-platform (Windows, Linux, and Mac OS X)
- A – Apache HTTP Server
- M – MariaDB (formerly MySQL)
- P – PHP (Hypertext Preprocessor)
- P – Perl
It provides basic infrastructure like an HTTP server, database, and scripting language for your local WordPress installation. You can create a development/testing instance for the production environment. There are other tools like WAMP, MAMP, LAMP, WAPP, MAPP, LAPP, Nginx, and HHVM available in the market.
Below are the components which come with XAMPP,
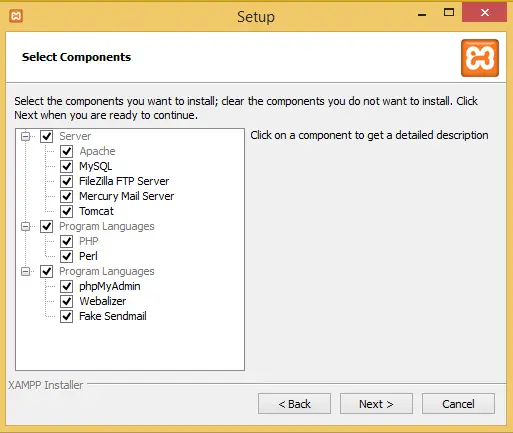
- Apache – HTTP Web Server.
- MySQL – The world’s most popular open-source database. It is actually MariaDB as per the XAMPP.
- FileZilla FTP Server – FTP server to transfer files from client to server and vice-versa
- Mercury Mail Server – Internet email server
- Tomcat – Open-source implementation of the Java Servlet, JavaServer Pages, Java Expression Language, and Java WebSocket technologies
- PHP and Perl – Programming Language
- phpMyAdmin – Free and open-source tool written in PHP intended to handle the administration of MySQL or MariaDB with the use of a web browser.
- Webalizer – Web server log file analysis program that produces usage statistics in HTML format for viewing with a browser
- Fake Sendmail – Sendmail is a mail server that runs on *nix. (fake) send email included with the Windows version of XAMPP pretends to send mail, but really just forwards the email, usually to your ISP’s SMTP server
Download and Install XAMPP on Windows 10
XAMPP is available for Windows, Linux, and Mac OS x for 32-bit or 64-bit versions. It supports Windows 10, Windows 8, 7, and Vista as well.
You can download XAMPP from the below link.
The latest version does not support Windows XP or 2003. Old versions are available here.
Linux and OSX users, can download it from the same location and use this guide to install it on Linux.
1. Start Installation
Double-click the installer to start the XAMPP installation. It is a wizard-driven installation where it asks for the setup option like components, folder, etc. You can change it, but let it be the default.
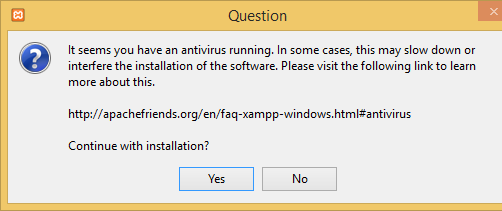
Setup may give you the below error.
It seems you have an antivirus running. In some cases, this may slow down or interfere the installation of the software. Please visit the following link to learn more about this.
http://apachefriends.org/en/faq-xampp-windows.html#antivirus
Continue with installation?
Yes No
Important! Because an activated User Account Control(UAC) on your system some functions of XAMPP are possibly restricted. with UAC please avoid to install XAMPP to C:\Program Files (x86) (missing write permissions). Or deactivate UAT with msconfig after this setup.

Click Yes and OK for the warning given by the installer for Antivirus and Windows UAC. It should install without any issue, but if you face issues disable the anti-virus temporarily. Make sure you are not connected to the internet when the antivirus is not running and do not forget to enable it again.
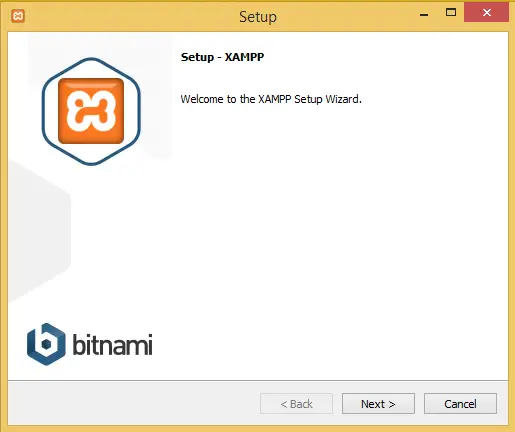
2. Welcome
Here, Setup Wizard welcomes you. Click Next to continue the installation.
3. Select the Component
Choose XAMPP components like Apache, MySQL, FileZilla FTP Server, etc which you want to install. I have selected all as it can also be used as servers when designing the web using PHP and MySQL. You need only Apache, PHP, and phpMyAdmin for WordPress.
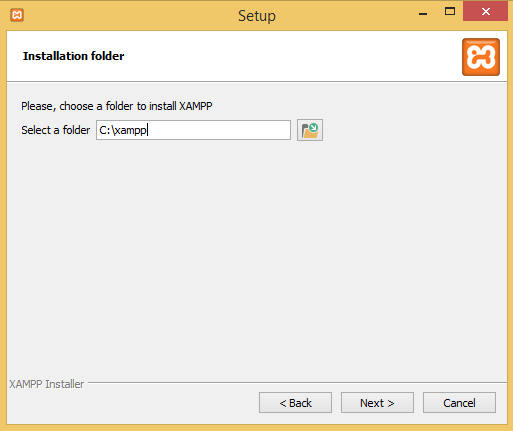
4. Choose the Installation folder
Choose default and click Next. If you are not an admin on the desktop, do not install it under program files as you may not have access to these folders.
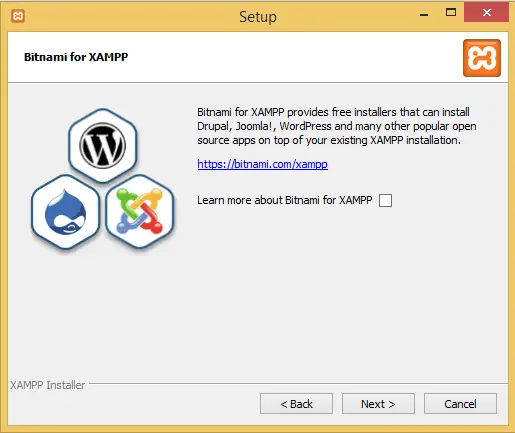
Bitnami provides a one-click installation of popular software like WordPress, Joomla, Drupal, etc. If you want to know more about it click on the below checkbox, else uncheck it.
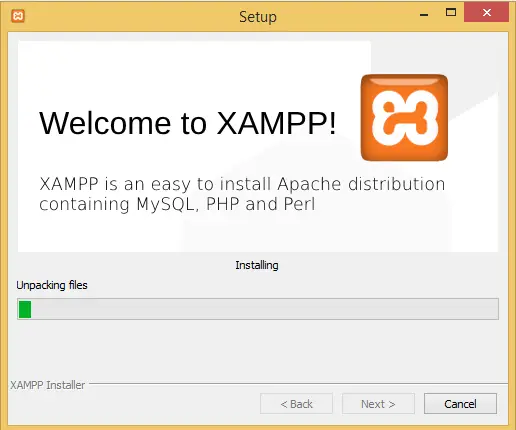
That’s it. Post this Installation starts.
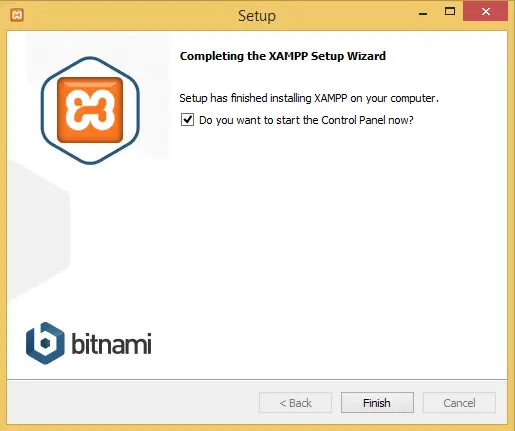
5. Complete Installation
Installation of the XAMPP is complete and you are ready to use your local server. Check if you want to open the control panel and click on finish.
6. Verify Installation
Go to Windows -> Start -> XAMPP Control Panel to launch it. This is how the control panel looks.
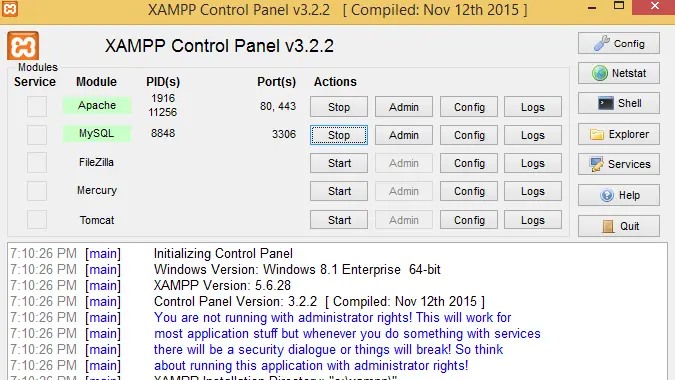
XAMPP Control Panel is the only central dashboard. It allows you to Start/Stop services like Apache, MySQL, FileZilla, Mercury, Tomcat, etc. Just click on the Start button and the service starts. The same button you can use to Stop the services. You can also administer/config the service and see log files using it.
Summary
XAMPP is not made for production use and we also found XAMPP a little slow. But, it gets your work done free and open source way.
So go ahead and install XAMPP on Windows and start your web stack development journey.
I hope you found this article helpful. Please share and subscribe.
